How to Transfer Photos from iPhone to Chromebook — Complete Guide 2026
Want to move your iPhone photos to your Chromebook, but not sure which method works best?
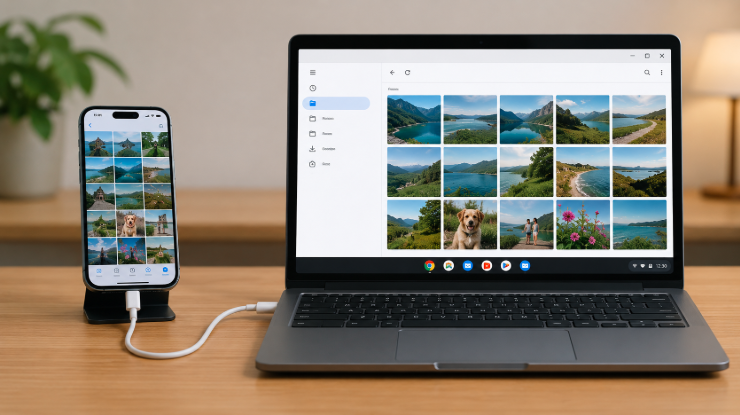
The fastest way to transfer photos from your iPhone to a Chromebook is using a USB cable — plug in, tap Allow, and copy files directly through the Files app in under a minute.
But four other methods work just as well, depending on your situation — including fully wireless options that require no cable at all. In this complete guide,e we’ll cover every method, fix the common HEIC compatibility issue, and help you choose the right approach. Let’s get into it.
Do This First — Fix iPhone Photo Format (Critical Step)
Before transferring any photos, change this one iPhone setting to avoid compatibility problems on your Chromebook
iPhones shoot photos in HEIC/HEIF format by default — a compressed Apple format that saves storage space but is not natively supported by ChromeOS. When you transfer HEIC photos to a Chromebook, they may appear as unreadable files or require extra steps to open.
Fix it in 30 seconds:
- Open Settings on your iPhone
- Tap Camera
- Tap Formats
- Select Most Compatible
Your iPhone will now shoot in JPEG form, which opens perfectly on any Chromebook without any conversion needed. Note that this setting only affects new photos going forward — existing HEIC photos on your camera roll will still be in HEIC format.
All Transfer Methods — Quick Comparison
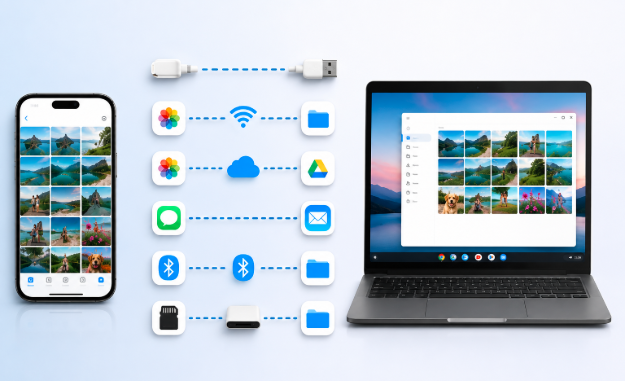
There are several ways to transfer photos from an iPhone to a Chromebook, and each method works differently depending on your preferences and available tools.
The comparison table below gives a quick overview of the main transfer options, while the detailed explanations under the table discuss how each method works, along with its benefits and possible limitations.
| Method | Speed | Requires Internet | Requires Cable | Best For |
| USB Cable | Fastest | No | Yes | One-time bulk transfer |
| Google Photos | Automatic | Yes | No | Ongoing auto-backup |
| iCloud | Automatic | Yes | No | Apple ecosystem users |
| OneDrive | Automatic | Yes | No | Microsoft 365 subscribers |
| PhotoSync | Wi-Fi | Local Wi-Fi | No | Wireless without cloud |
Method 1: USB Cable (Fastest — No Internet Needed)
The most reliable method — works offline and transfers at full speed
What cable do you need?
- iPhone 15 and newer: USB-C to USB-C cable
- iPhone 14 and older: USB-A to Lightning or USB-C to Lightning, depending on your Chromebook’s ports
- Most newer Chromebooks have USB-C ports — older or budget models have USB-A
Step by step:
- Plug your iPhone into your Chromebook using the appropriate cable
- On your iPhone, a prompt will appear — tap “Allow” to grant access to photos and videos
- On your Chromebook, open the Files app from the launcher
- Your iPhone will appear in the left sidebar under “External devices.s”
- Click on your iPhone name → open the DCIM folder
- Browse through the date-organized folders to find your photos
- Select photos using Ctrl + Click for multiple selections
- Press Ctrl + C to copy
- Navigate to Downloads or create a new folder
- Press Ctrl + V to paste
Keep your iPhone connected and unlocked until the transfer completes — disconnecting early can cause incomplete transfers on large photo batches.
Method 2: Google Photos (Best for Automatic Ongoing Backup)
The most convenient wireless method — set it up once and your photos sync automatically
On your iPhone:
- Download Google Photos from the App Store if not already installed
- Open the app and sign in with your Google account
- Tap your profile icon in the top-right corner
- Select “Photos settings.”
- Tap “Backup” and toggle it on
- Choose your backup quality — “Storage saver” for free unlimited storage or “Original quality” to preserve full resolution (counts against Google storage)
On your Chromebook:
- Open Chrome and go to photos.google.com
- Sign in with the same Google account
- All backed-up iPhone photos appear automatically — browse, download, or share directly
Google Photos provides free storage for photos up to 16MP, which covers the vast majority of iPhone camera shots. The app backs up in the background whenever your iPhone is connected to Wi-Fi, making it the most hands-off solution for ongoing photo management between iPhone and Chromebook.
Method 3: iCloud Photos (Best for Apple Ecosystem Users)
If you already pay for iCloud storage, this is the most seamless option
On your iPhone:
- Open Settings → tap your name at the top
- Tap iCloud → Photos
- Toggle “iCloud Photos” to On
- All your photos will sync to iCloud automatically over Wi-Fi
On your Chromebook:
- Open Chrome and go to iCloud.com
- Sign in with your Apple ID
- Click Photos
- Browse your entire iPhone photo library
- Select photos → click the download button (cloud with downward arrow) to save to your Chromebook
iCloud storage pricing:
- 50GB — $0.99/month
- 200GB — $2.99/month
- 2TB — $9.99/month
iCloud is the best choice if you already subscribe to iPhone backup — your photos will always be accessible from any browser without any additional setup.
Method 4: OneDrive (Best for Microsoft 365 Subscribers)
If you use Microsoft 365, you already have 1TB of cloud storage included — here’s how to use it for iPhone to Chromebook photo transfer
On your iPhone:
- Download the OneDrive app from the App Store
- Open the app and sign in with your Microsoft account
- Tap your profile icon in the top-left
- Select Settings → Camera Upload
- Toggle Camera Upload On
- Choose whether to include videos and whether to allow cellular uploads
On your Chromebook:
- Open Chrome and go to onedrive.live.com
- Sign in with your Microsoft account
- Navigate to the Photos section
- Browse and download your synced iPhone photos
Microsoft 365 Personal costs $70/year and includes Word, Excel, PowerPoint, and 1TB OneDrive storage — making it an excellent value if you need those apps alongside photo backup.
Method 5: PhotoSync — Wireless Transfer Without Cloud
The best option when you want wireless transfer but don’t want to use cloud storage
What you need: Both your iPhone and Chromebook connected to the same Wi-Fi network
On your iPhone:
- Download PhotoSync from the App Store
- Open the app and grant photo access permissions
On your Chromebook:
- Open Chrome Web Store
- Search for “PhotoSync Companion”
- Install the extension
Transfer process:
- Open PhotoSync on your iPhone and tap “Sync.”
- The app automatically detects your Chromebook on the same Wi-Fi network
- Click the PhotoSync extension icon in Chrome on your Chromebook
- Select the photos you want to transfer
- Click “Download” — photos transfer directly over Wi-Fi without any cloud storage involved.
This method is ideal for users who want wireless transfer but prefer to keep photos off cloud services for privacy reasons.
Troubleshooting — Common Problems & Fixes
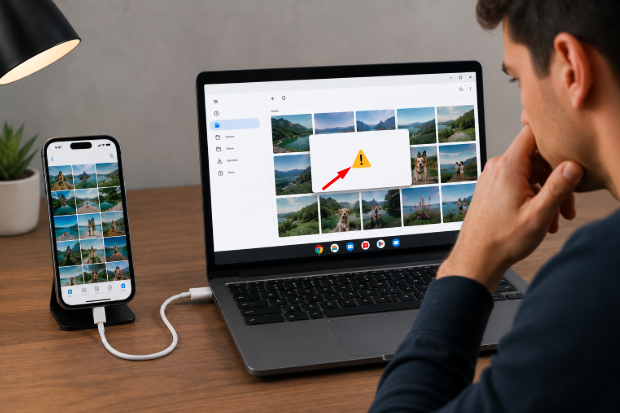
When transferring photos or files from an iPhone to a Chromebook, users may sometimes face connection errors, backup issues, or file compatibility problems.
Below, we will explain the most common issues in detail and discuss practical fixes for each problem so you can complete the transfer process smoothly.
iPhone not showing up in the Files app after USB connection
Make sure you tapped “Allow” on your iPhone — not “Don’t Allow.” If you accidentally tapped the wrong option, disconnect and reconnect the cable. Also, try a different USB port on your Chromebook — some ports are charge-only and don’t support data transfer.
Photos appear as unreadable HEIC files on Chromebook
Change your iPhone camera format to Most Compatible (Settings → Camera → Formats) for future photos. For existing HEIC photos, use Google Photos to transfer — it automatically converts HEIC to JPEG-compatible format during the process.
Google Photos is not backing up
Check that your iPhone has Wi-Fi connected and is plugged into a charger — Google Photos only backs up by default when both conditions are met. Also, verify backup is still enabled in the Google Photos app settings.
iCloud Photos not loading on Chromebook browser
Try using Chrome specifically — iCloud.com works best in Chrome. Disable any VPN or ad blocker extensions that may be interfering. Also, ensure you’re signed in with the correct Apple ID — not a family sharing account.
Transfer stops midway over USB
Keep your iPhone unlocked and screen on during large transfers — some Chromebooks lose the USB connection when the iPhone screen locks. Disable Auto-Lock temporarily in iPhone Settings → Display & Brightness → Auto-Lock → set to Never during transfer.
Which Method Should You Use?
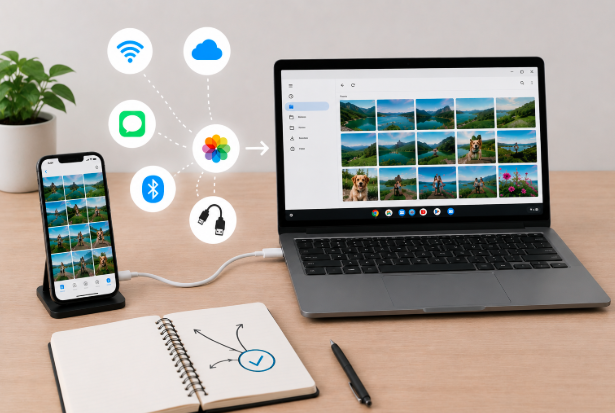
The best method for transferring photos from an iPhone to a Chromebook depends on your needs, internet availability, storage space, and how often you transfer files.
Below, the comparison table explains the advantages, limitations, and best use cases of each transfer method to help you choose the most suitable option.
| Your Situation | Best Method |
| Need photos on Chromebook right now | USB Cable |
| Want automatic backup going forward | Google Photos |
| Already paying for iCloud | iCloud Photos |
| Already have Microsoft 365 | OneDrive |
| Want wireless without cloud storage | PhotoSync |
| Transferring videos as well | USB Cable or Google Photos |
| Low internet bandwidth | USB Cable |
| Transferring large RAW/ProRAW files | USB Cable (preserves full quality) |
FAQs
Q1. What is the fastest way to transfer photos from an iPhone to Chromebook?
The fastest method is a USB cable — plug in your iPhone, tap Allow, open the Files app on your Chromebook, find your photos in the DCIM folder, and copy them directly. No internet required and transfer happens at full USB speed — significantly faster than any cloud upload/download method.
Q2. Can I transfer iPhone photos to Chromebook without a cable?
Yes — Google Photos is the easiest wireless method. Install Google Photos on your iPhone, enable backup, and all your photos sync automatically to your Google account. Open photos.google.com on your Chromebook to access and download them anytime.
Q3. Why do my iPhone photos look wrong or won’t open on Chromebook?
Your iPhone is likely shooting in HEIC format which ChromeOS doesn’t natively support. Go to Settings → Camera → Formats → Most Compatible to switch to JPEG for new photos. For existing HEIC photos, transfer via Google Photos which converts them automatically.
Q4. Does connecting iPhone to Chromebook via USB delete any photos?
No — connecting your iPhone via USB creates a read-only connection. Your original photos remain safely on your iPhone. The Files app only copies photos to your Chromebook — it never moves or deletes from your iPhone.
Q5. Can I transfer Live Photos from iPhone to Chromebook?
Yes — both USB and cloud methods transfer Live Photos, but they appear as standard still images on ChromeOS since the Live Photo format is iOS-specific. The motion component doesn’t transfer — only the still frame is preserved on Chromebook.
Conclusion
Transferring photos from your iPhone to a Chromebook is easier than most people expect — and there’s a method that fits every situation. For a quick one-time transfer, USB cable is fastest and requires no internet.
For ongoing automatic backup, Google Photos is the most seamless solution and free for most users. Always fix the HEIC format setting on your iPhone first — it takes 30 seconds and prevents the most common compatibility problem.
Choose your method based on how often you need to transfer and whether you prefer cloud or local storage, and your iPhone photos will be on your Chromebook in minutes.
Related Articles
Sell HP Laptop – Complete Guide to Selling Your HP Laptop for the Best Price
KEFEYA Laptop Screen Extender – Complete Guide for Productivity & Portable Multi-Monitor Setup
Laptop Screen Wet — What to Do Immediately Before Permanent Damage
How to Remove Admin Account from a Chromebook Laptop?